
Haha, the board won‘t win any prices for sure. But for a first try I‘m still very happy.


Haha, the board won‘t win any prices for sure. But for a first try I‘m still very happy.


I just printed the design on a glossy paper and used an iron to transfer the toner from the paper onto the pcb (last image). The toner protects the underlying copper in the etching process, so only the free copper gets etched away. I used Na2S2O8 for etching.


Yes UV is so much nicer, I also use this method now when I‘m not ordering online.


I can recommend this online telescope simulator where you can simulate the field of view with your equipment. Your 300mm lens should be absolutely perfect


This lens is incredibly sharp and produces nearly no coma. Also the image is super flat and the lens also works for full frame cameras. For its high image quality it‘s also used by some more advanced astrophotographers.
As I bought it new for 400€ this was a no brainer because we can also use it for ‘normal’ photography.
I‘m sure your lens works well for many nebulae!


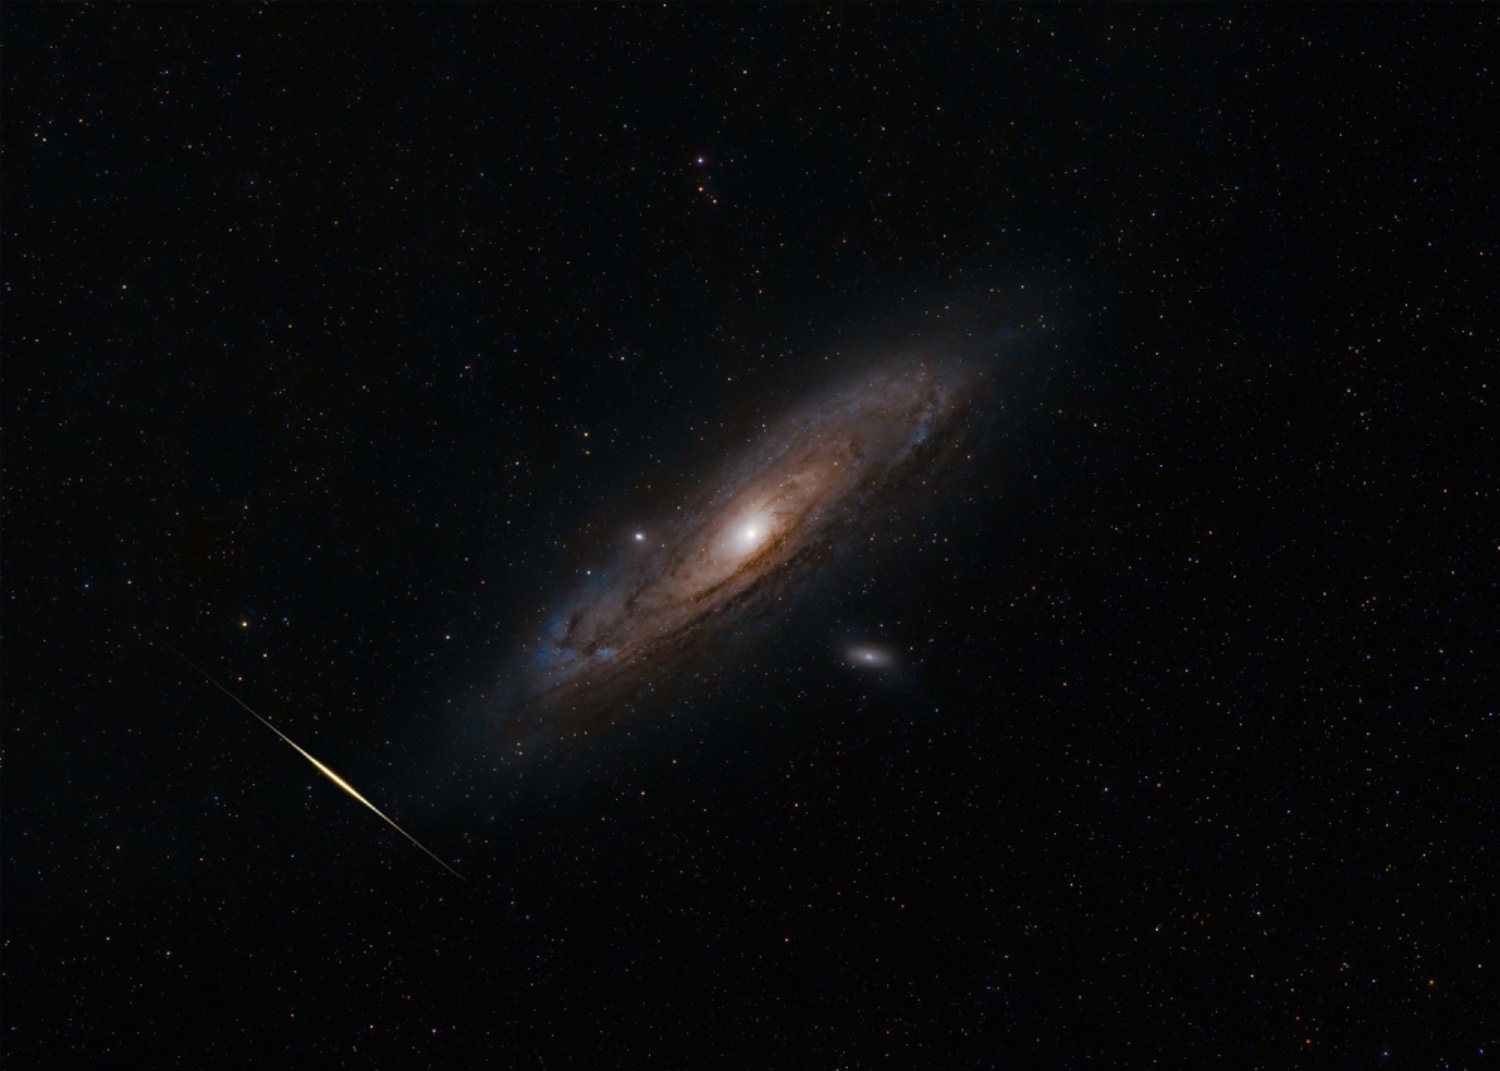
Thank you! Andromeda is way bigger than most people think. That’s the reason why it is a very (maybe the most) popular target for beginners. Also there went a lot of processing into the image, so don’t let the image deceive you from the actual conditions where I live (Bortle 5 zone)


The lens is the telescope in this case. But as the focal length of 135mm is fairly short it works best for objects appearing very large in the sky. Astrophotography can get very expensive very quickly, so we try to make the most out of the equipment we have. Just like with the 3d printed mount.


The Samyang 135mm f2.0. In some markets it‘s also called Rokinon


Thank you! I agree, it really is an amazing topic.


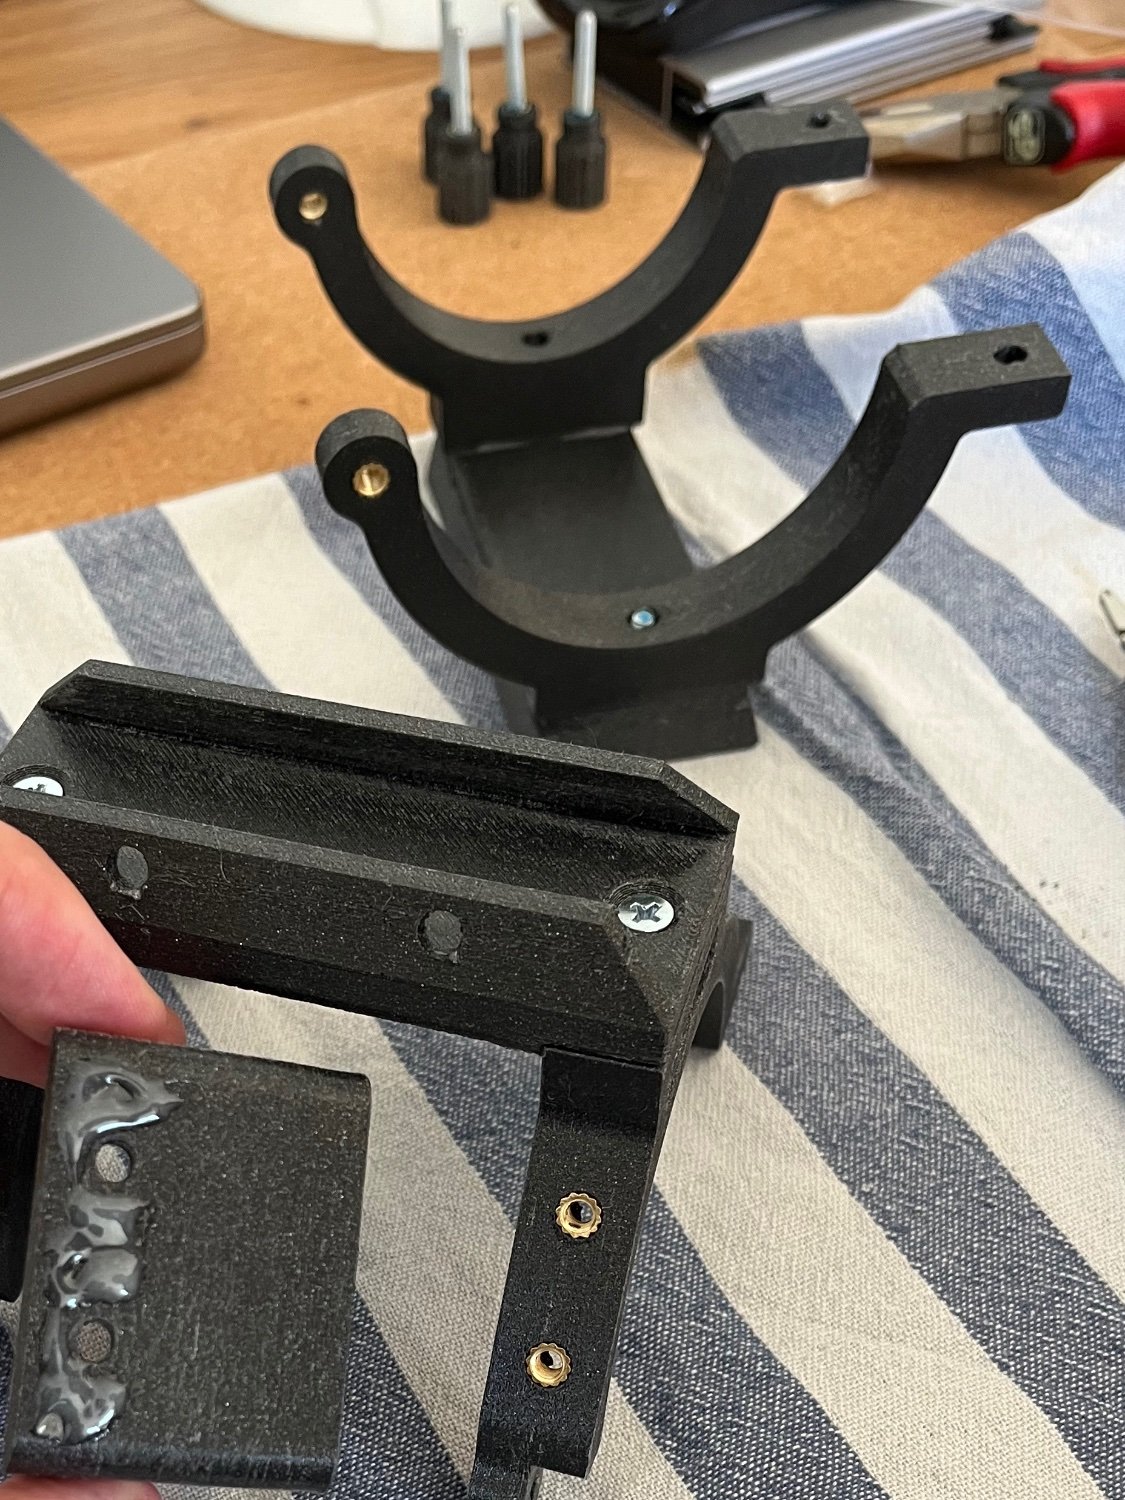
Glueing and screwing the parts:

One result shot with this mount (and many other accessories):

Interesting, how much power does the laser have to need to be able to burn the paint?